8. Service
8-1. Login and Logout
8-1-1. Logging In
1. At the top of the ClassPad.net top page, click [Log in].
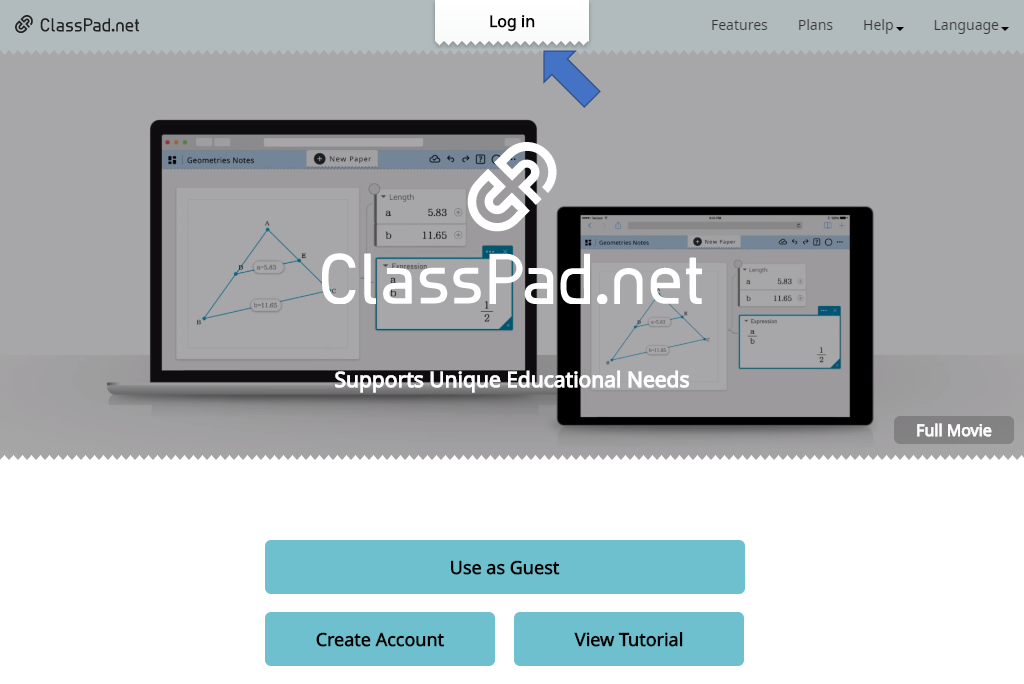
・This displays the login dialog box.
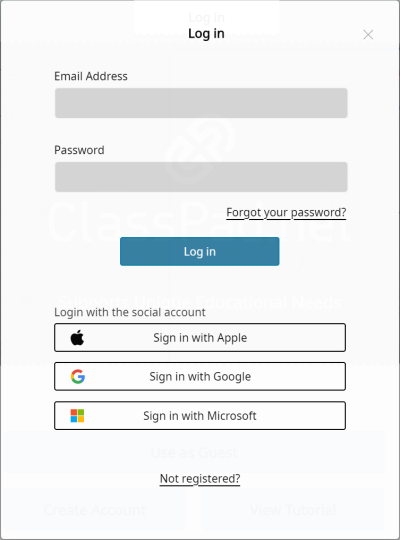
・To sign in with an Apple, Google, or Microsoft account, click the applicable button.
2. Input your mail address and password, and then click [Log in].
・Logging in displays the My Page screen.
- If you are logging in using a social media account, a dialog box appears with one of the buttons below. Click the button.
- Apple ID: Sign in with Apple
- Google account: Sign in with Google
- Microsoft account: Sign in with Microsoft
- In order to log in using a social media account, you first need to link with the account. For information about how to do this, see "8-3. Profile Settings".
8-1-2. Logging Out
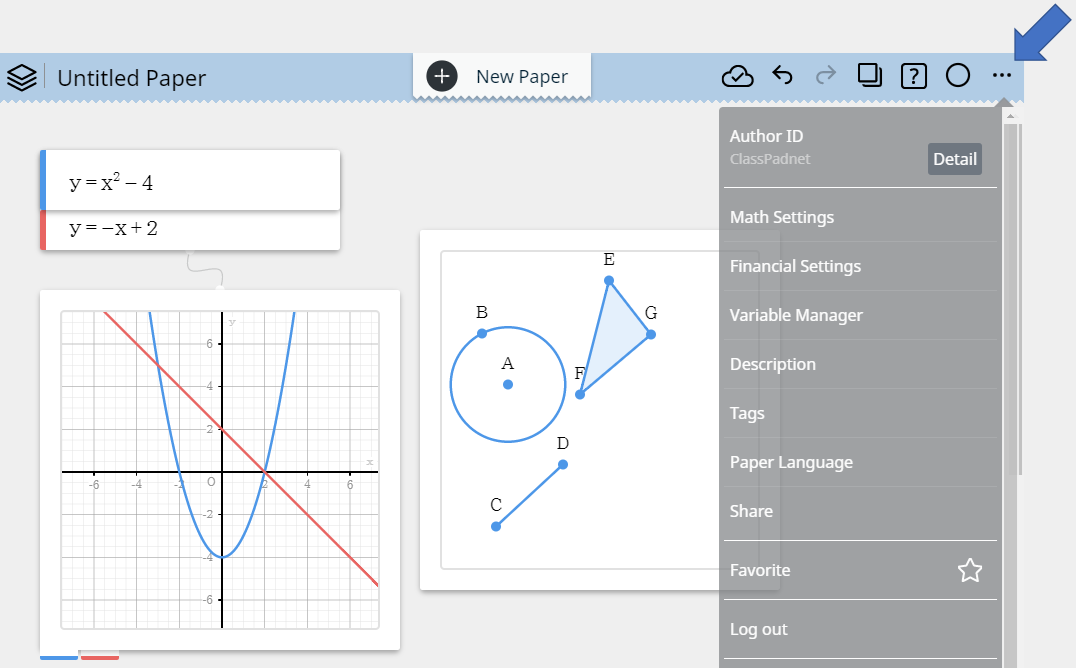
1. Click your User ID.
・This displays a menu.
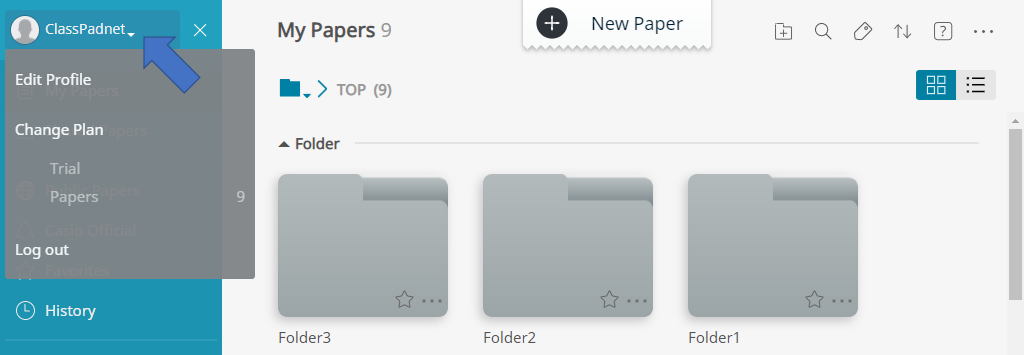
2. Click [Log out].
・Logging out displays the ClassPad.net top page.
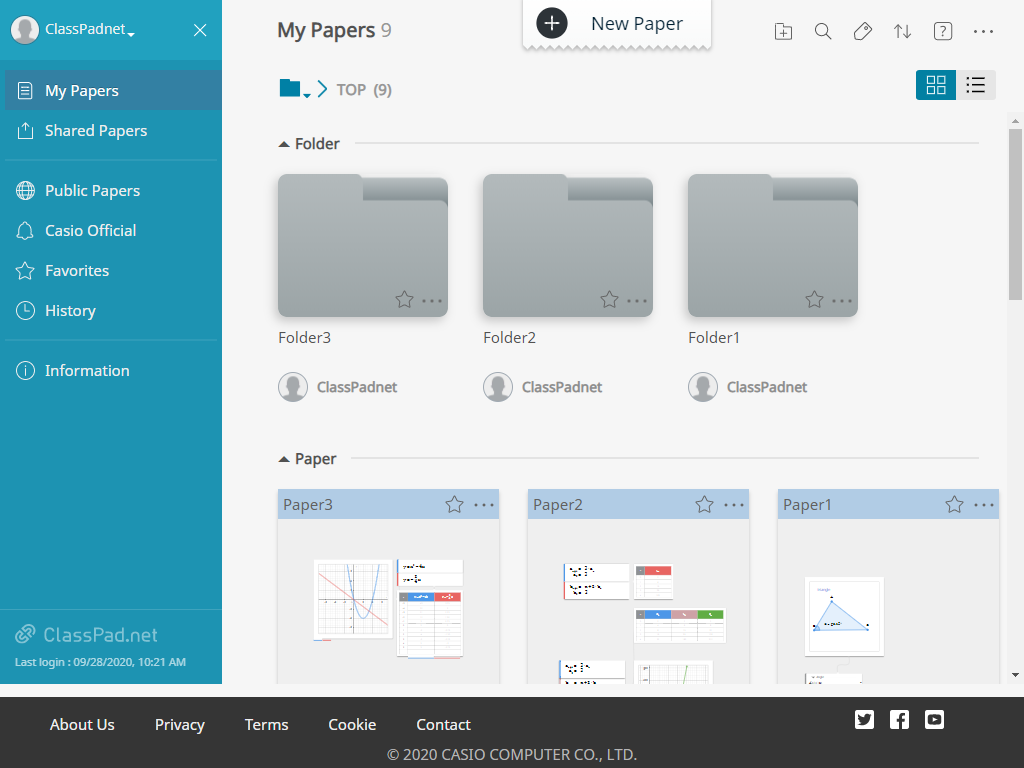
8-2. My Page Screen
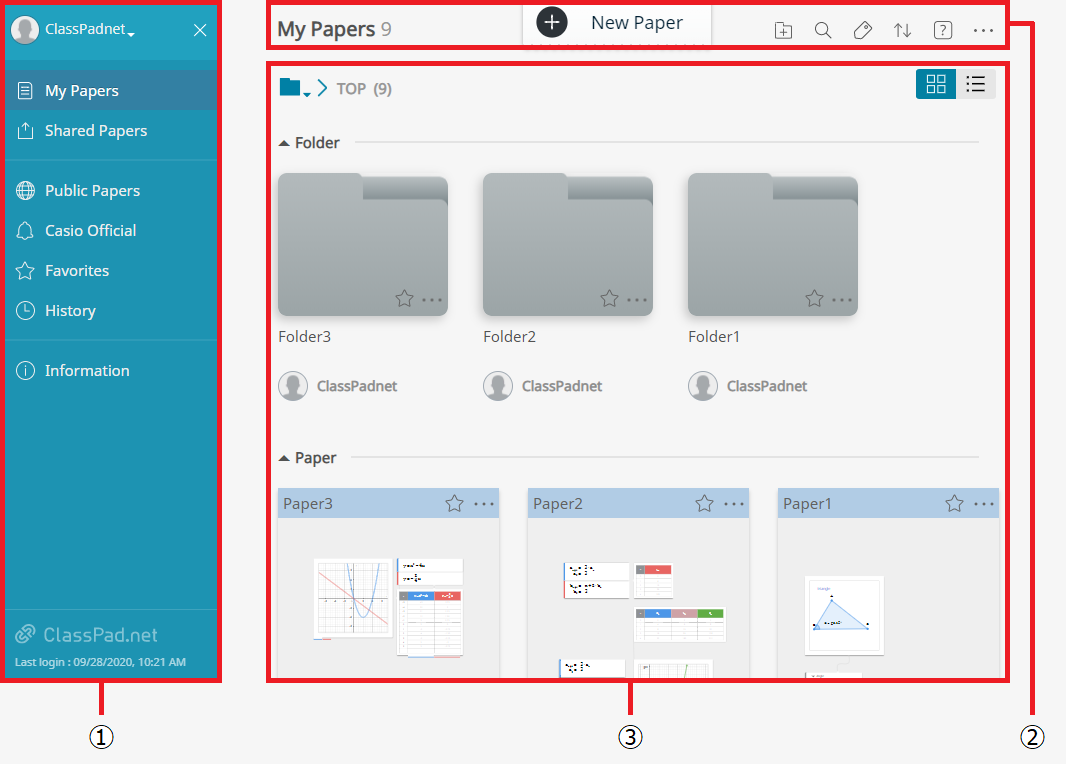
① Side menu
-
User ID ... Click to display a menu containing the items below. Edit profile: Select to edit your profile. Change plan: Select to change a plan you are currently part of. Log out: Select to log out. - My Papers ... Select to display Papers you created.
- Shared Papers ... Select to display Papers you have shared with other users.
- Public Papers ... Select to display Papers other users have published.
- Casio Official ... Select to display official Casio Papers.
- Public Papers ... Select to display Papers other users have published.
- Favorites ... Select to display Papers you have added to Favorites.
- History ... Select to display your Paper browsing history.
- Information... Select to display website new release information.
② My Page header
-
... Shows the number of Papers (My Papers and Shared Papers only) displayed on the screen. 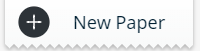 (Create New Paper) … Click to create a new Paper.
 (Create Folder) … Click to create a new Folder.
 (Keyword search) … Click to search for a Paper based on titles and descriptions.
 (Tag search) … Click to search for a Paper based on tags.
-
 (Sort menu) …
 Click to specify the Paper sort sequence. Date: Sorts according to creation date. Color: Sorts according to header color. Title: Sorts according to title. Favorite: Sorts according to the number of users who have favorited the Papers. Ascending: Sorts ascending. Descending: Sorts descending.  (Help menu) … Click to display a menu containing the items below.
User’s Guide: Provides information about how to use each function. Function List: Shows a list of all available functions.  (Other menu) … Click to display a menu containing the items below.
Language: Let's you select the display interface language. Edit: Let's you delete a Paper or batch delete multiple Papers.  (Thumbnail View/List View) … Toggles Folder and Paper between thumbnail view and list view.
③ Folder/Paper area
- ・Clicking a Paper's thumbnail or name opens the Paper for editing. Clicking a folder's thumbnail or name displays the folder contents.
- ・The icons described below are displayed for each Paper.
-
 ...
... Displayed when URL Share is specified for a Paper you created.  ...
...Displayed when Public Share is specified for a Paper you created.  ...
...Displayed when a Paper is not included in Favorites. Clicking this icon adds the Paper to Favorites.  ...
...Displayed when a Paper is included in Favorites. Clicking this icon removes the Paper from Favorites.
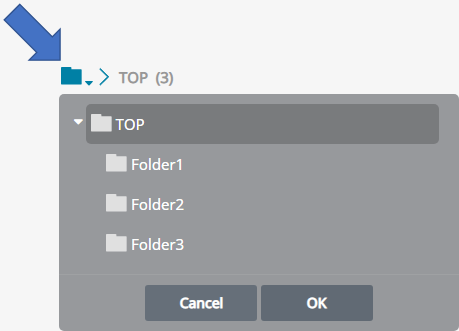
8-2-1. Navigating Between Folders
・Clicking a folder thumbnail navigates to that folder.
・Clicking  displays folder hierarchy. Select the folder you want to move and then click [OK].
8-2-2. Folder Operations
・Clicking  in the lower right corner of a folder thumbnail displays a menu containing the items below.
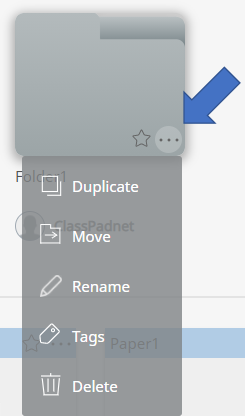
- Duplicate ... Duplicates a folder. This also duplicates the Paper inside the folder.
- Move ... Moves a folder. This also moves the Paper inside the folder.
- Rename ... Changes the folder name.
- Tags ... Assigns searchable tags to a folder.
- Delete ... Deletes a folder. This also deletes the Paper inside the folder.
8-2-3. Paper Operation
・Clicking  in the upper right corner of a Paper thumbnail displays a menu containing the items below.
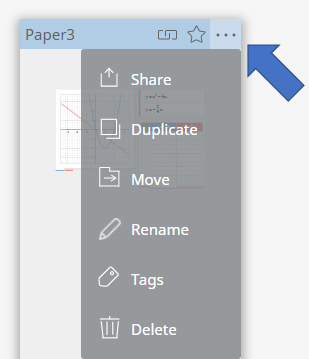
- Share ... Shares a Paper. For more information, see "8-4. Sharing a Paper".
- Duplicate ... Duplicates a Paper. You can rename the duplicated Paper. You can specify the destination folder for the duplicated Paper.
- Move ... Moves a Paper to another folder.
- Rename ... Changes the Paper name.
- Tags ... Assigns searchable tags to a Paper.
- Delete ... Deletes a Paper.
8-3. Profile Settings
Clicking the User ID on the My Page screen displays a menu. Selecting [Edit Profile] on the menu displays the profile editing screen.

① |
Image ... Shows your user profile image. |
② |
User ID ... Shows your user ID. |
③ |
Biography ... Input information about yourself. Selecting the [Public] check box makes this information public. |
④ |
Nickname ... The nickname you want to use. Selecting the [Public] check box makes this information public. |
⑤ |
Country/Region ... Select a country name. Selecting the [Public] check box makes this information public. |
⑥ |
Occupation ... Select an occupation. Selecting the [Public] check box to the right of the field makes your Papers searchable by an occupation-based Keyword search. For more information, see "8-1. My Page Screen". |
⑦ |
Language ... Select a language. |
⑧ |
E-mail Address ... Click [Change] to change your mail address. |
⑨ |
Password ... Click [Change] to change your password. |
| ⑩ | Link Account ... Lists link accounts.
• You cannot unlink an account unless two accounts or more are linked to ClassPad.net. |
| ⑪ | Delete Account ... Click [Delete Account] to delete all of your account information from ClassPad.net. Deleting your account information cancels your ability to use all linked accounts, and deletes all the Papers and other data you created. Important! • The mail address of a deleted account can be linked to ClassPad.net again. However, deleted papers and other data cannot be restored. |
After editing the items below, click the [Save] button in the upper right corner of the screen to save your edits. User ID, Biography, Nickname, Country/Region, Occupation, Language
Note
- You cannot change your mail address or password after signing in using social media login. You can change these items only after logging in using your ClassPad.net account.
- The profile image and User ID are always public.
- The occupation, language, and mail address are never public.
8-4. Sharing a Paper
You can use Paper sharing to allow others to view a Paper created by you.
There are two Paper sharing options: URL sharing and public sharing.
- ・URL share
-
- This option generates a URL for your Paper so people who have the URL can browse it.
- You can also protect a Paper with a password. A password protected Paper can be viewed only by those who know the password.
- For example, after an assignment is created, the assignment administrator can send the URL to the individuals for which it is intended. After the assignment is completed, it can be submitted to the administrator.
- For information about submissions, see "8-5. Submitting an Assignment Paper".
- ・Public share
-
- This option makes it possible for anyone to view your Paper. A publicly shared Paper can be viewed and searched for using the [Public Papers] option on the My Page screen.
8-4-1. Sharing the Current Paper
1. In the Paper header, click  .
.
2. Click [Share].
・This displays the Share dialog box.
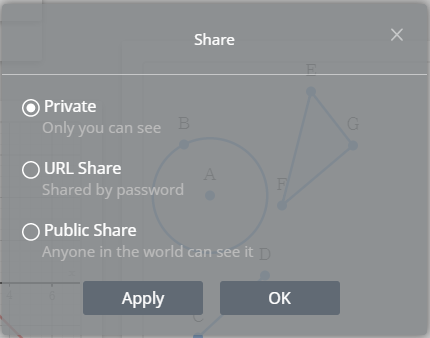
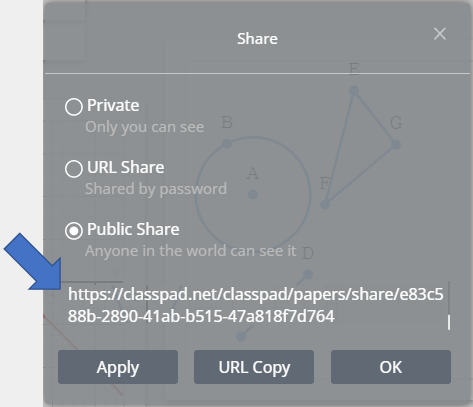
3. Select a sharing option.
• Selecting [URL Share] or [Public Share] shares the current Paper.
• The Paper will not be shared if you select the [Private] option.
• If you selected [URL Share] as the sharing option, you can also perform the operations below.
| - | Selecting the [Password] check box lets you specify a password to protect the shared Paper. |
| - | While the [Homework] check box is selected, you can specify a deadline date for assignment submissions. |
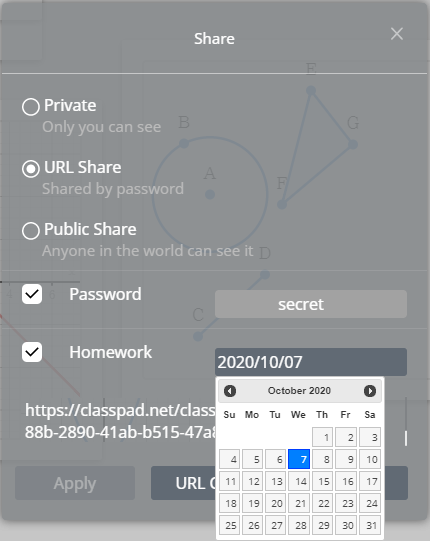
4. After selecting the sharing option you want, click [OK].
Note
-
Selecting [URL Share] or [Public Share] will cause the URL of the Paper to appear on the Share dialog box. Click [URL Copy] to copy the URL to the clipboard. You can copy the URL and paste it into a mail message or some other app.
-
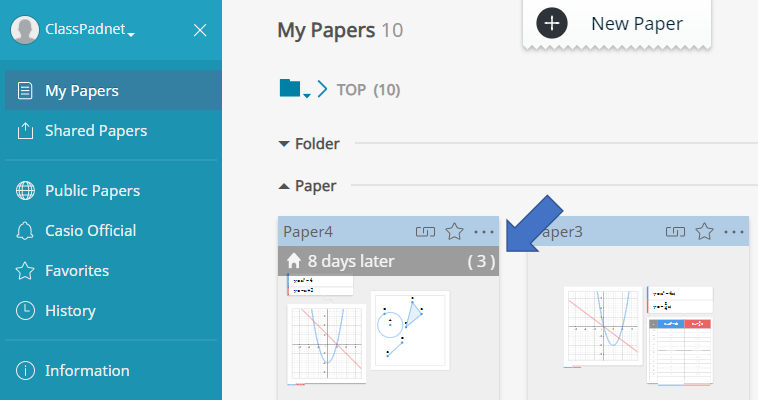
Selecting [URL Share] and the [Homework] check box displays the number of people who have submitted an assigned for the corresponding Paper of the My Paper screen.
- To be able to view the contents of a submitted Paper, the administrator needs to have been notified by the submitter of the URL that is generated when the submitter submits the assignment.
8-5. Submitting an Assignment Paper
Accessing the URL of an assignment Paper displays two buttons at the bottom of the screen.

① [Submit] ... Submits the assignment.
② [Save] ... Saves the assignment.
8-5-1. Saving an Assignment
You can save an assignment that is partially completed.
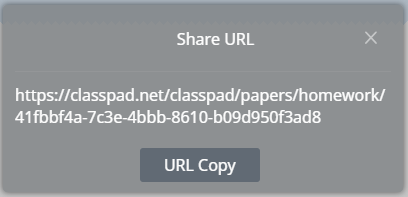
Clicking [Save] saves the assignment and displays the dialog box shown below.
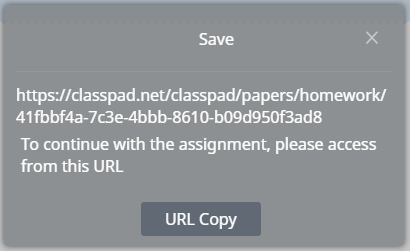
・The dialog box shows the URL of the saved assignment. To continue working on the assignment, access this URL.
・Click [URL Copy] to copy the URL to the clipboard. A URL can be pasted into other applications.
8-5-2. Submitting an Assignment
1. Click [Submit].
Important!
• Once an assignment is submitted, it can no longer be edited.
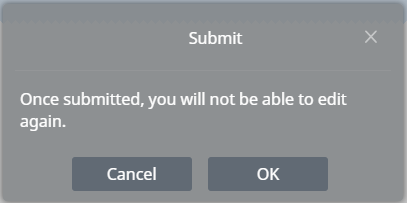
2. Click [OK] to issue the assignment.
3. Copy the generated URL, paste it into a mail message, and send it to the assignment administrator.
Note
- Submitting an assignment causes [Show URL] to appear at the bottom of the screen. Clicking [Show URL] displays the URL of the submitted assignment.
-
Click [URL Copy] to copy the URL to the clipboard. A URL can be pasted into other applications.
Editing is possible after accessing the URL. However, edited content cannot be saved or submitted.
-
If the submission deadline of an assignment has expired, [Expired] appears at the bottom of the screen. Once the submission deadline of an assignment is expired, you can no longer submit or save it, or display its URL.
