1. Paper Operations
- 1-1. Creating a Sticky Note
- 1-2. Creating a new Paper
- 1-3. Moving a Sticky Note
- 1-4. Resizing a Sticky Note
- 1-5. Changing the Fill Color of a Sticky Note
- 1-6. Deleting a Sticky Note
- 1-7. Changing the Header Color of the Current Paper
- 1-8. Changing the Title of the Current Paper
- 1-9. Combining Multiple Sticky Notes
- 1-10. Separating Combined Sticky Notes
- 1-11. Adding Comment Text to the Current Paper
- 1-12. Adding Searchable Tags to the Current Paper
- 1-13. Adding the Current Paper to Favorites
- 1-14. Making a Copy of the Current Paper
- 1-15. Adding a Comment Using a Text Sticky Note
- 1-16. Viewing the Profile of the Current Paper's Author
- 1-17. Configuring Accessibility Settings
- 1-18. Returning to the My Papers Screen
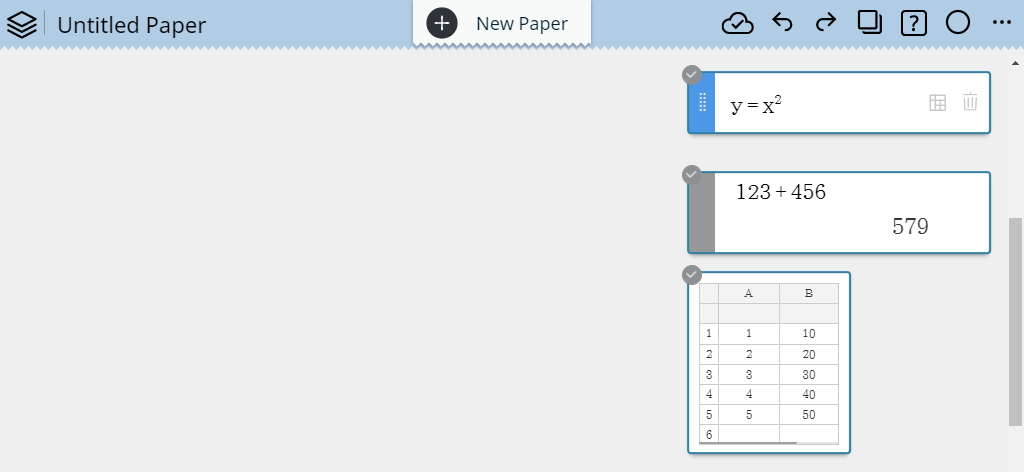
1-1. Creating a Sticky Note
1. Click anywhere on the Paper.
・This displays the Sticky Note menu.
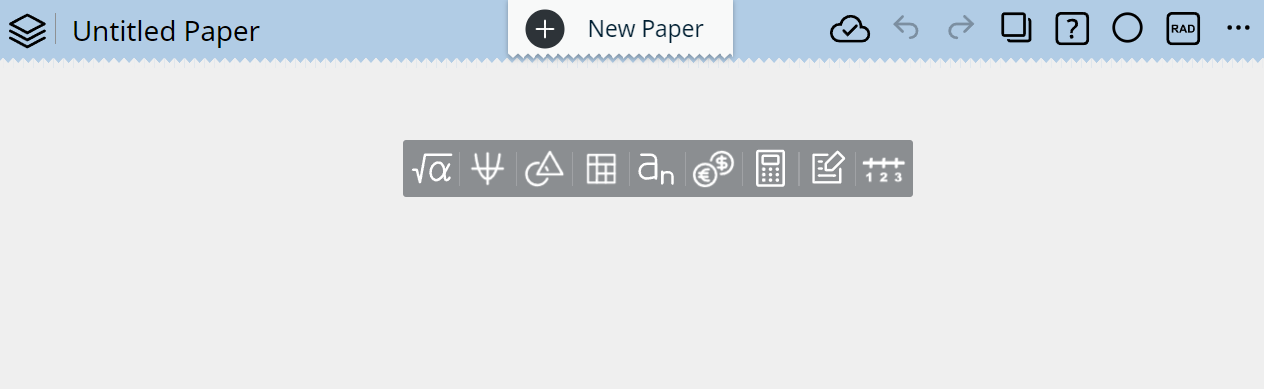
2. Click the type of Sticky Note (operation) you want to use.
 (Calculate Sticky Note) ... For arithmetic and function calculations
 (Graph Sticky Note) ... For graphing and numerical table creation
 (Geometry Sticky Note) ... For geometric figure drawing and analysis
 (Statistical Data Sticky Note) ... For statistical calculations
 (Sequence Sticky Note) ... For sequence calculations
 (Financial Sticky Note) ... For financial calculations
 (ClassWiz Sticky Note) ... ClassWiz scientific calculator emulator
 (Text Sticky Note) .... For notes, comments, etc.
 (Number Line Sticky Note) ... For number line creation
・Selecting a Sticky Note type creates a Sticky Note for the applicable operation.
・You can repeat steps 1 and 2 above and create multiple Sticky Notes, if you like.
1-2. Creating a new Paper
1. In the Paper header, click [New Paper]
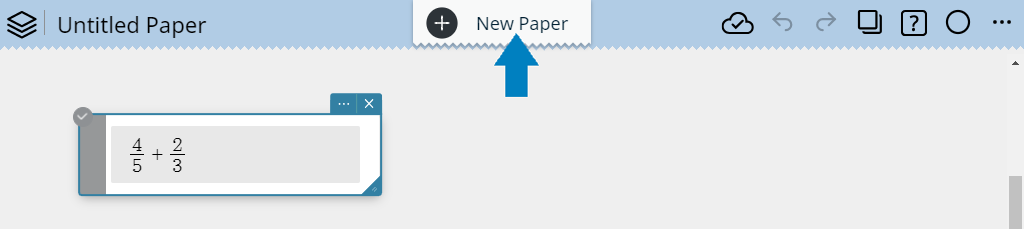
・This saves the displayed Paper and displays a new Paper.
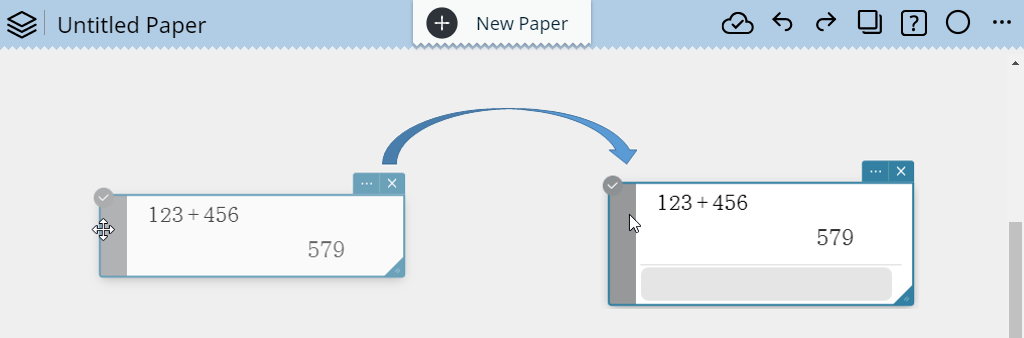
1-3. Moving a Sticky Note
You can move a Sticky Note around the Paper by dragging it.
1-3-1. To move multiple Sticky Notes at the same time
1. Click the select button ( ) in the upper left corner of a Sticky Note you want to move.
・Its select button will change to  .
.
2. Repeat step 1 for all of the Sticky Notes you want to move.
3. Drag one of the selected Sticky Notes.
・This will cause all of the Sticky Notes whose select buttons looks like  to move accordingly.
1-3-2. To undo a Sticky Note move operation
Click the Undo button ( ) in the Paper header.

If you moved a Sticky Note multiple times, you can sequentially undo the moves by clicking the Undo button again.
Note
-
To sequentially return a Sticky Note back through its moved locations, click the Redo button (
 ) in the Paper header.
1-4. Resizing a Sticky Note
You can re-size a Sticky Note that has a resize handle ( ) in its lower right corner by dragging the handle.
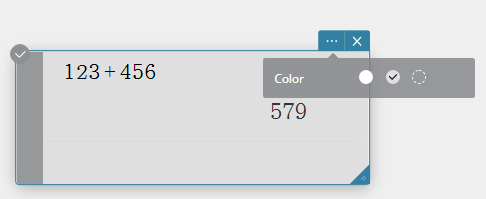
1-5. Changing the Fill Color of a Sticky Note
1. Click the Sticky Note whose fill color you want to change to select it.
2. Click the Sticky Note settings button ( ).
).
・This displays the Color Palette.
3. Use the Color Palette to select a color.
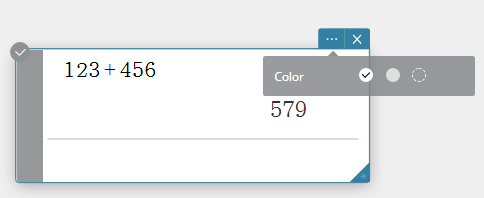
4. After selecting a color, click the Sticky Note.
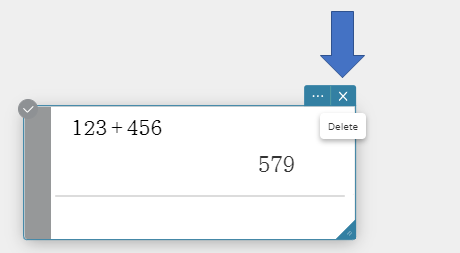
1-6. Deleting a Sticky Note
1. Click the Sticky Note you want to delete to select it.
2. Click the Delete button ( ).
).
1-7. Changing the Header Color of the Current Paper
1. Click the Header Color button ( ).
).

2. Use the Color Palette to select a color.

・This changes the Paper header to the color you selected.

1-8. Changing the Title of the Current Paper
1. Click the Paper header title.

・This causes a cursor to appear in the title area.
2. Use your computer keyboard to edit the title as you want.

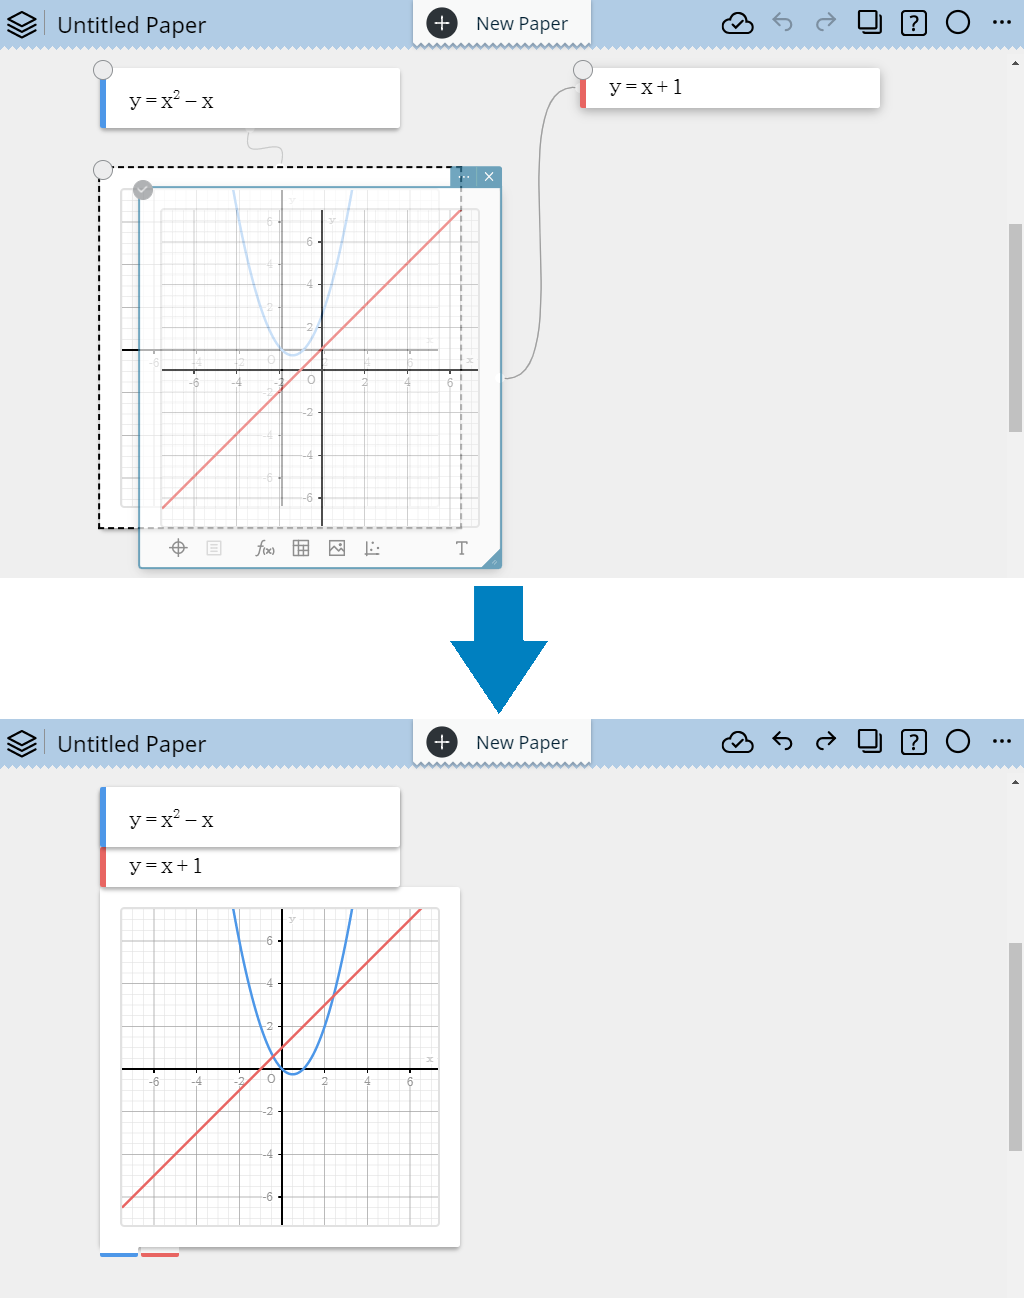
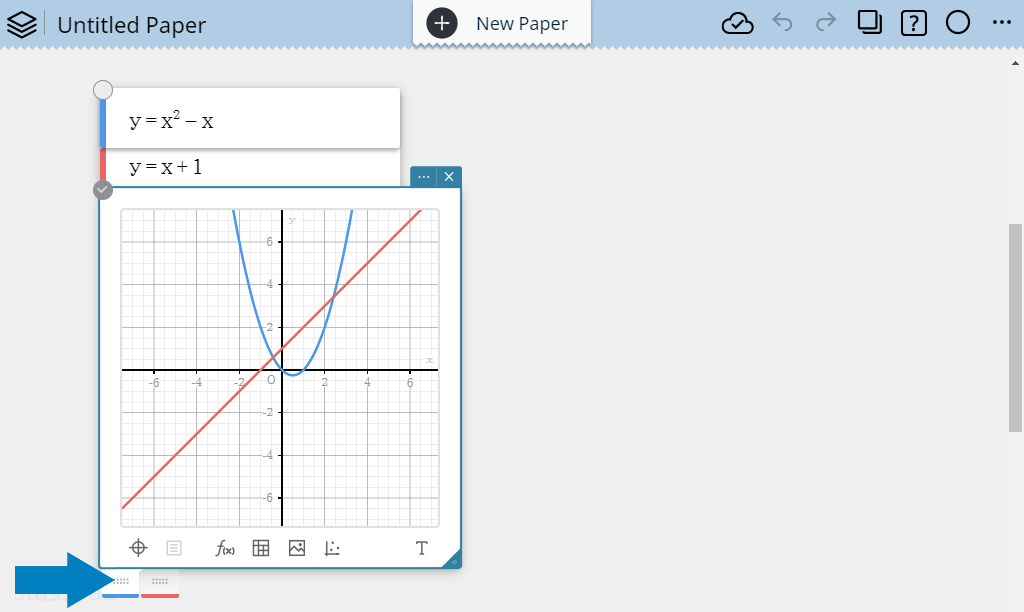
1-9. Combining Multiple Sticky Notes
Example: To combine the two Graph Sticky notes shown below
1. Click one of the Graph Sticky Notes.
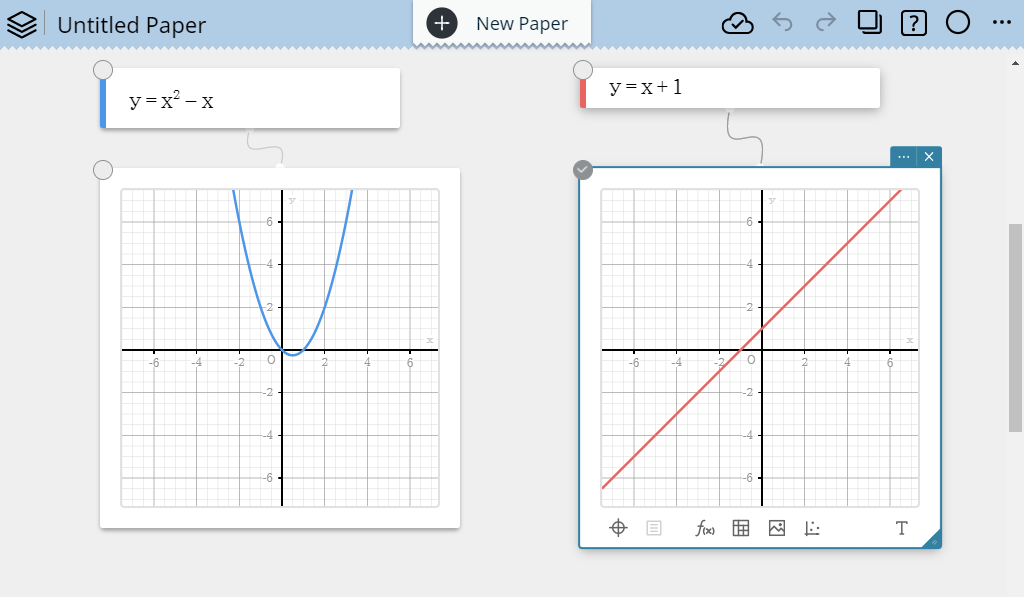
2. Drop the Graph Sticky Note you clicked onto the other Graph Sticky Note.
Note
- You could also perform this operation by dragging-and-dropping Graph Function Sticky Notes.
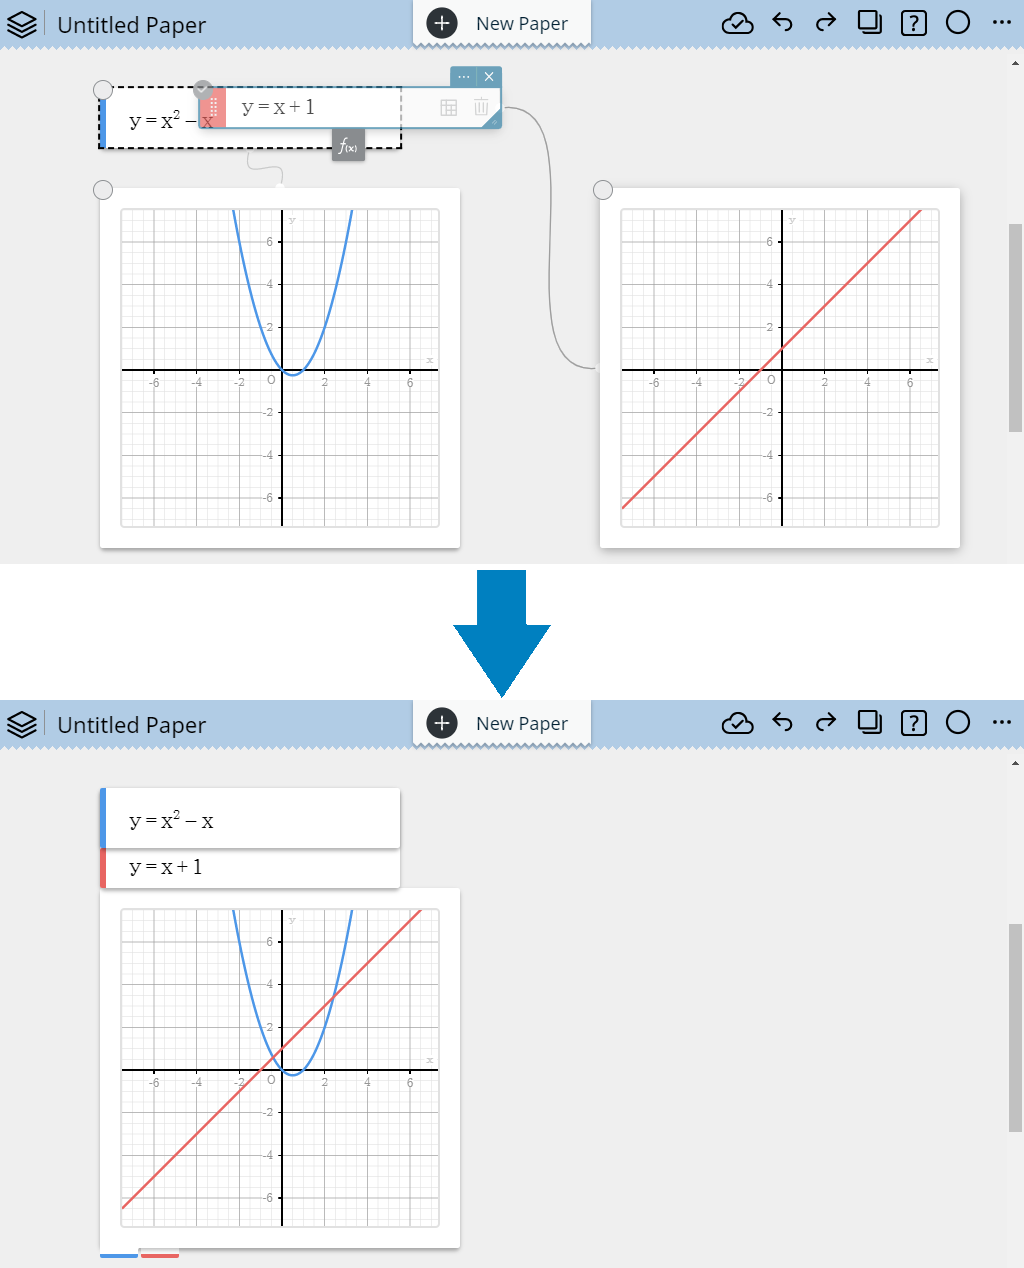
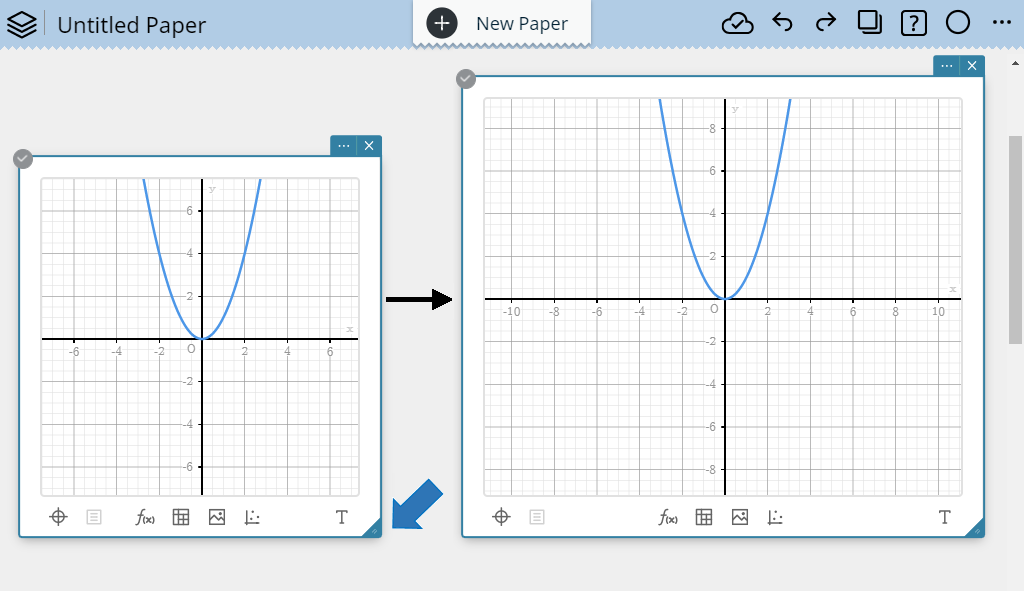
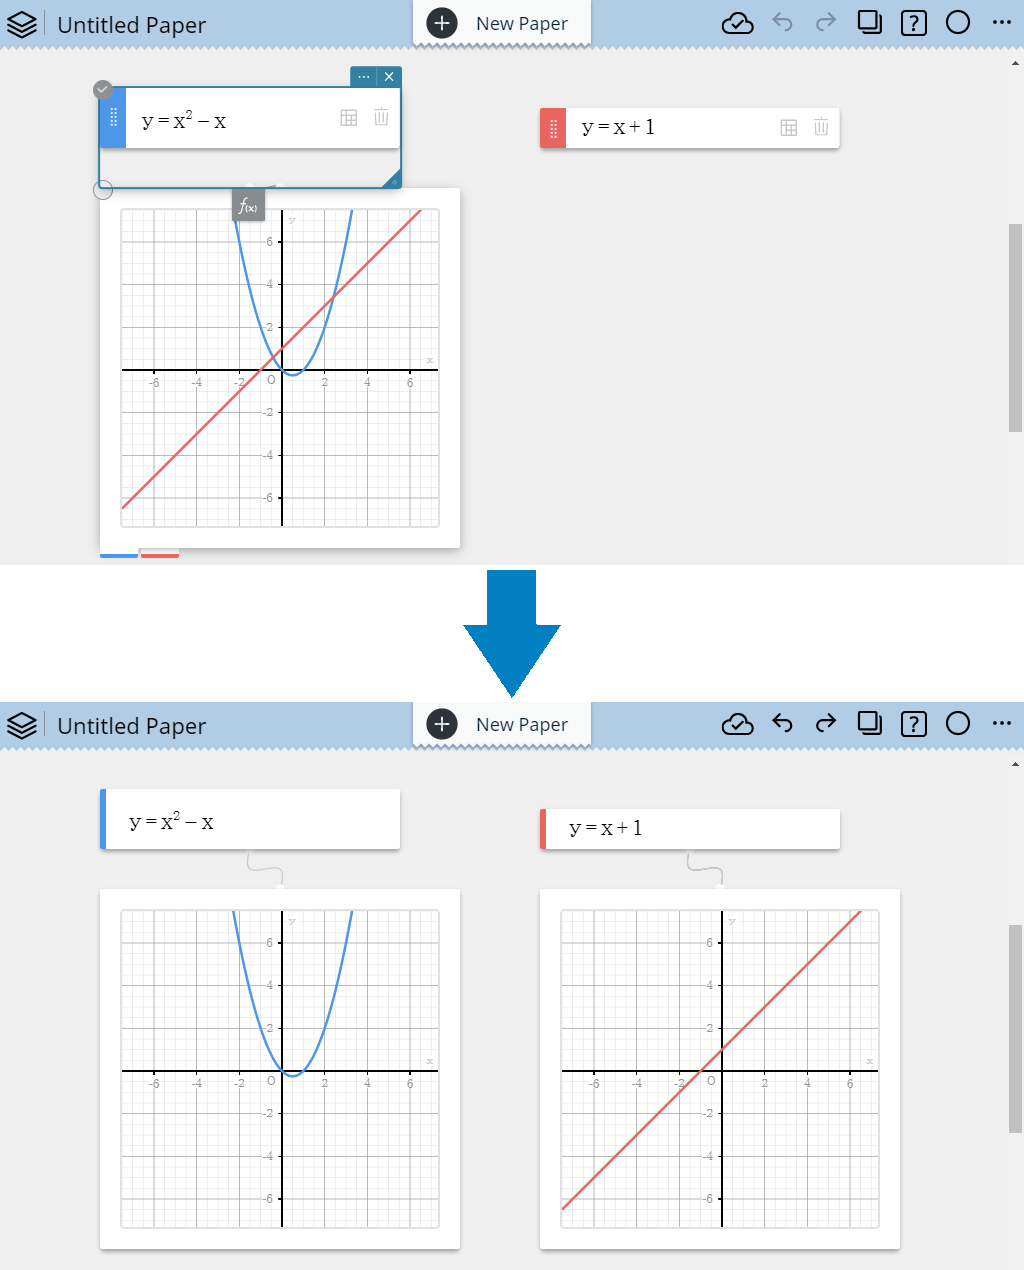
1-10. Separating Combined Sticky Notes
Example: To separate the two combined Graph Sticky notes shown below
1. Click the combined Graph Sticky Note.
・This displays drag handles below the left corner of the Sticky Note.
2. Drag the handle of one of the Graph Sticky Notes to a location outside of the other Graph Sticky Note.

Note
-
You could also perform this operation by dragging-and-dropping a Graph Function Sticky Note drag handle (
 ).
).
1-11. Adding Comment Text to the Current Paper
1. Click the Settings button ( ) in the Paper header.
2. Click [Description].
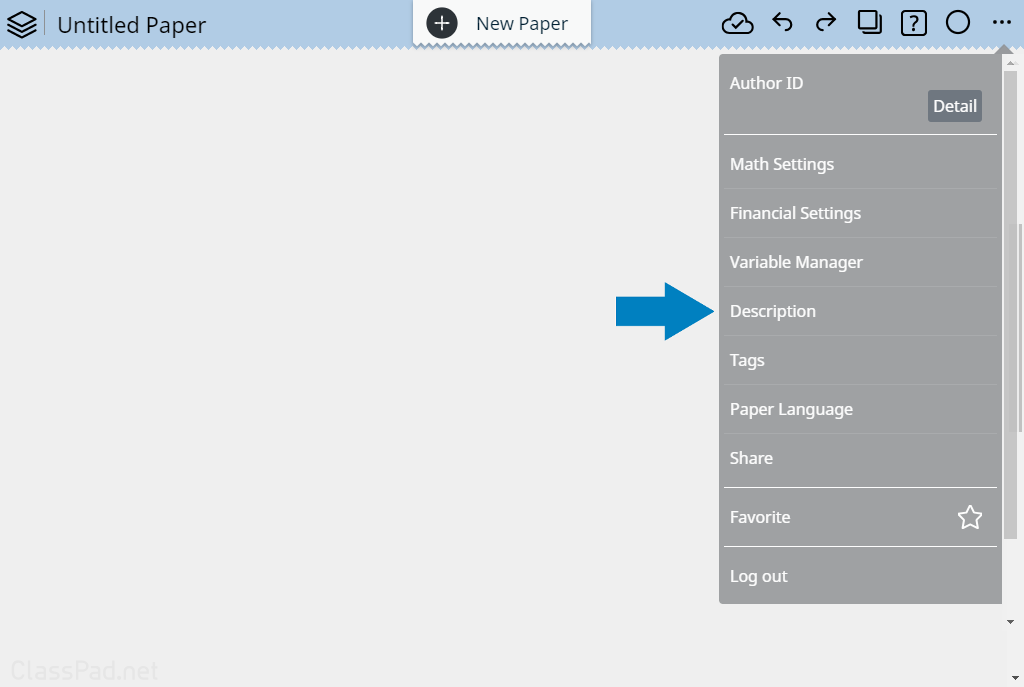
・This displays the Description dialog box.
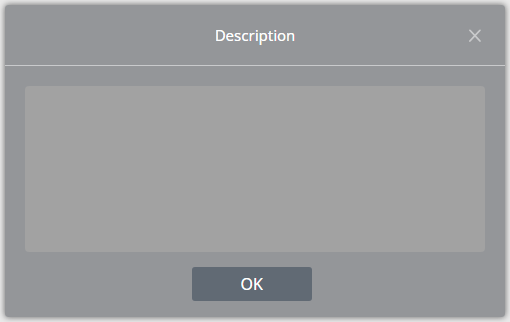
3. Input the text you want and then click [OK].
・This saves the text and closes the Description dialog box.
Note
・The next time you display the Description dialog box it will show the text you input.

To edit the text, click  in the upper left corner of the dialog box.
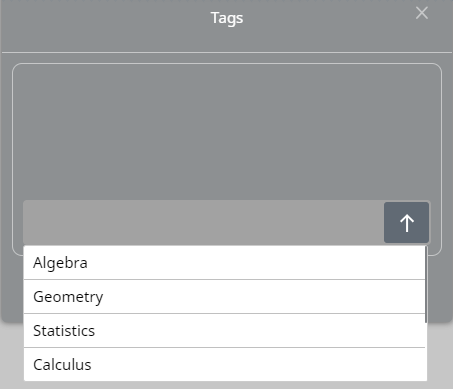
1-12. Adding Searchable Tags to the Current Paper
Multiple tags can be added to a Paper. Tags make it easier to search for a Paper.
1. Click the Settings button ( ) in the Paper header.
2. Click [Tags].
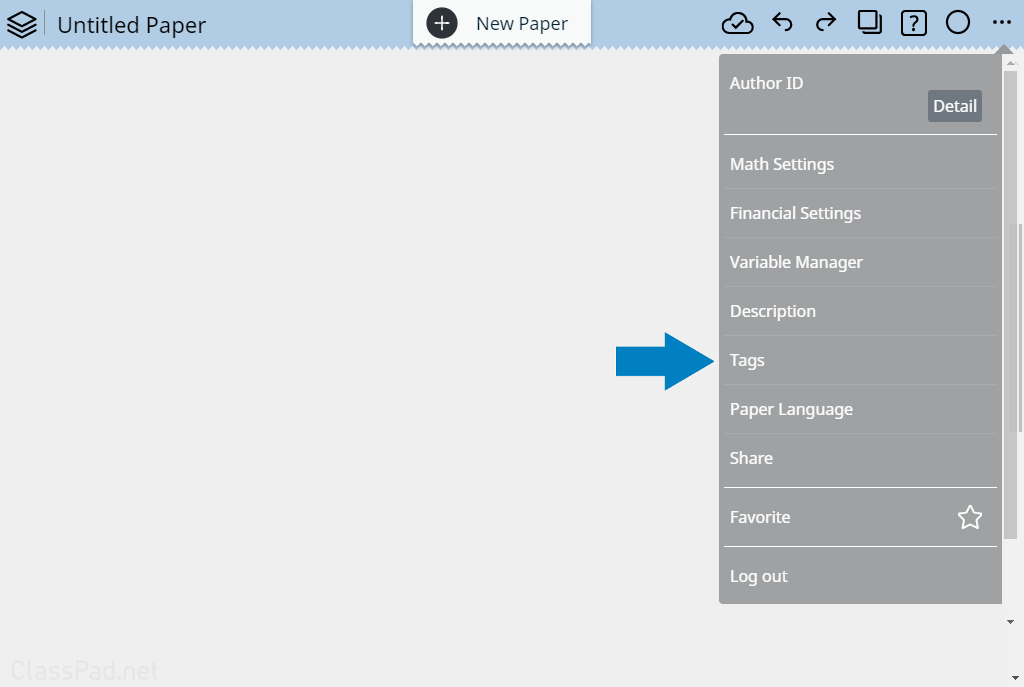
・This displays the Tags dialog box.
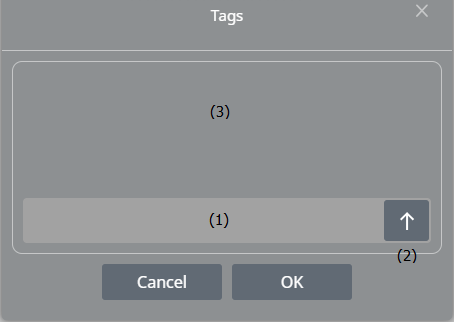
- (1) Input box
- (2) Register button
- (3) Tag list
3. In the input box, input the name of the tag you want to add to the Paper.
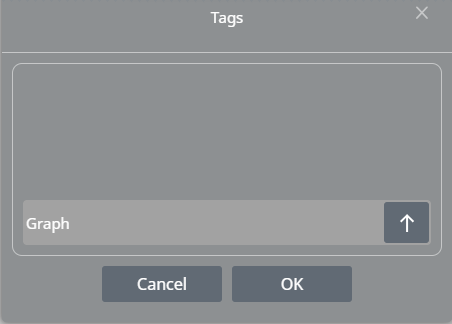
4. Click the Register button ( ).
).
・The tag you input will be shown in the tag list.
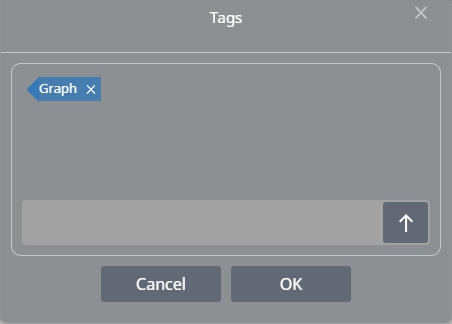
5. To register multiple expressions, repeat steps 3 and 4.
6. After registering all of the tags you want, click [OK].
Note
・Clicking the input box will display a menu of tags. You can use the menu to select a previously registered tab.
・You can delete a tag from the menu by clicking the  mark to the right of the tab name.

1-13. Adding the Current Paper to Favorites
1. Click the Settings button ( ) in the Paper header.
2. Click [Favorite].
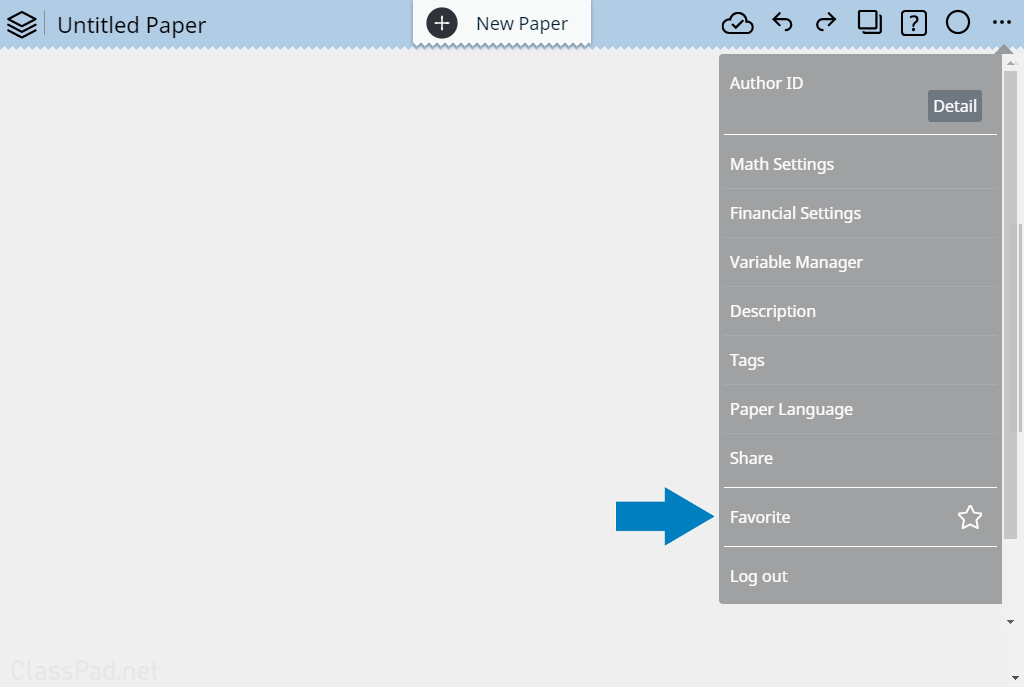
・This adds the currently displayed Paper to Favorites.
Note
・To remove the current Paper from Favorites, display it and perform the same operation as above.
1-14. Making a Copy of the Current Paper
1. Click the Settings button ( ) in the Paper header.
2. Click [Duplicate].
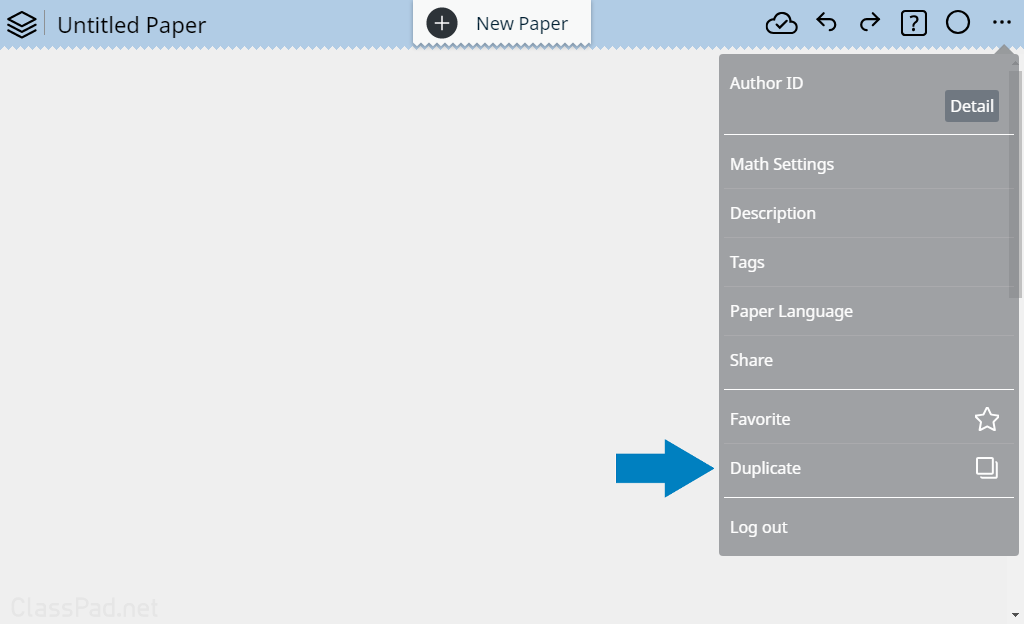
・This duplicates the currently displayed Paper.
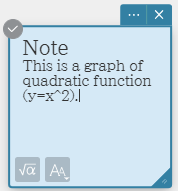
1-15. Adding a Comment Using a Text Sticky Note
1. Click anywhere on the Paper.
・This displays the Sticky Note menu.

2. Click  .
.
・This creates a Text Sticky Note.
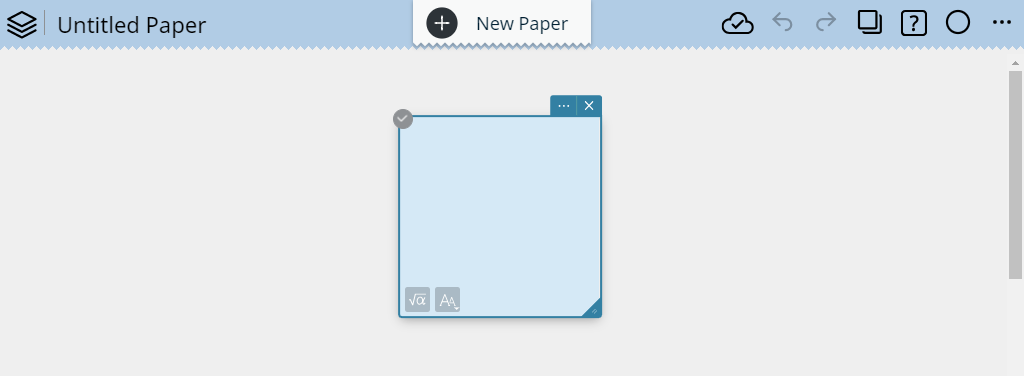
3. Use your computer keyboard to input the text you want.
Note
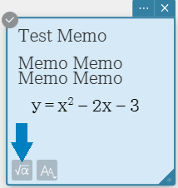
・You can input a function into a Text Sticky Note by clicking  in the lower left corner.
1-16. Viewing the Profile of the Current Paper's Author
1. Click the Settings button ( ) in the Paper header.
2. Under Author ID, click [Detail].
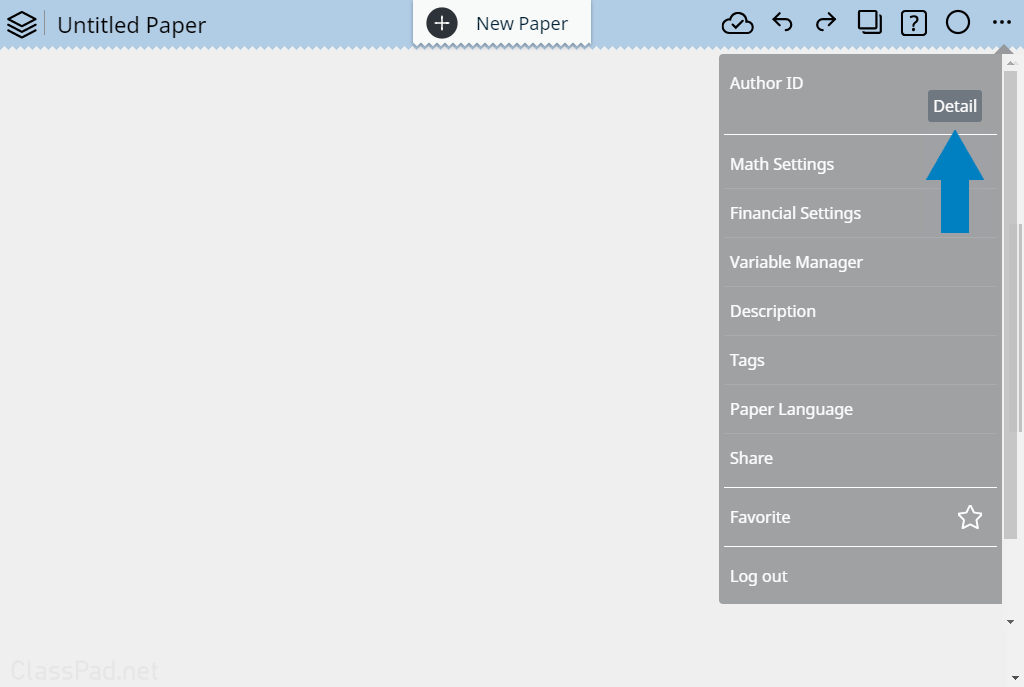
・This displays the profile of the author
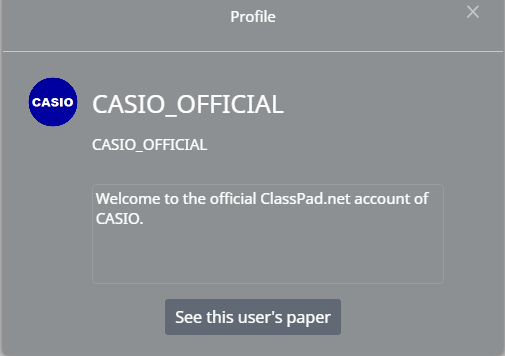
Note
・Clicking [See this user’s paper] displays a screen that shows a My Papers screen containing Papers that the author has shared.
1-17. Configuring Accessibility Settings
1. On the paper header, click .
2. Click [Accessibility].
・This displays the [Accessibility] dialog.
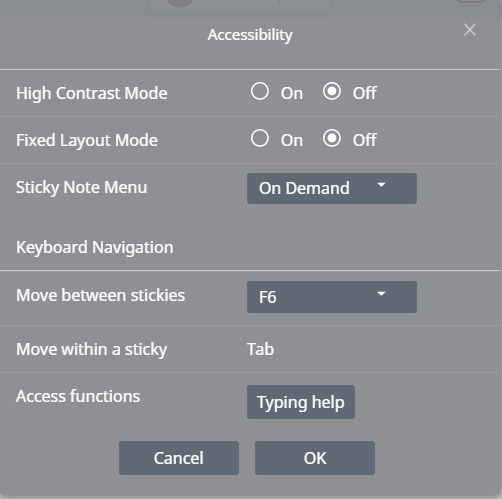
・Use this dialog to configure the settings described below.
High Contrast Mode:
Turn on this setting to display Sticky Note menus, dialogs and soft keyboards with higher contrast.

Off

On
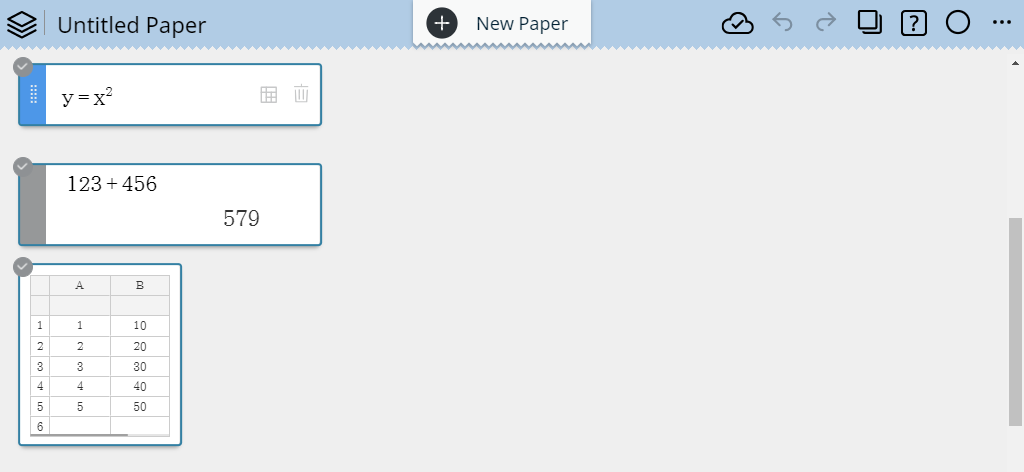
Fixed Layout Mode:
-
Off: Allows Sticky Note locations and sizes to be freely changed. This is the initial default setting.
Clicking the Sticky Note menu icon on a Paper to create a new Sticky Note displays the new Sticky Note at the location you clicked.On: Enters the Fixed Layout Mode, so Sticky Note locations and sizes are fixed. The newly created Sticky Notes are displayed in the sequence they were created from the upper left to the lower right on the Paper.
If you change the Fixed Layout Mode setting [Off] to [On] after Sticky Notes are created, they will be sorted in the order they were created. (Changing this setting from [On] to [Off] will return all Sticky Notes to their original locations.)

Off

On
Sticky Note Menu:
Specifies whether the Sticky Note menu is always displayed or appears when you click within a Paper.
-
On Demand: Displays the Sticky Note menu when you click within a Paper. Always: On a computer, the Sticky Note menu remains fixed at the top of Paper. On a smartphone, the Sticky Note menu remains fixed at the bottom of Paper. The menu disappears when you display the keyboard.
Keyboard Navigation:
Move between stickies:
-
F6: press of F6 on your computer keyboard moves the focus from one Sticky Note to another. This is the default setting. Ctrl + F6: Each press of Ctrl + F6 on your computer keyboard moves the focus from one Sticky Note to another. Off: Disables keyboard Sticky Note switching.
Move within a sticky:
Each press of the Tab key on your computer keyboard moves the focus between the fields and buttons in the currently active Sticky Note. This operation can be performed with the Tab key only.*
Access functions:
Clicking Typing help displays the "Function List" page in a separate browser tab.
3. After settings are the way you want, click [OK].
* Moving the focus with your keyboard's Tab key is a browser function. Pressing the Tab key while no sticky is selected or while a field, button, or other browser element is selected moves the focus to the Paper header or browser header.
1-18. Returning to the My Papers Screen
Click the Paper header Back button ( )
)