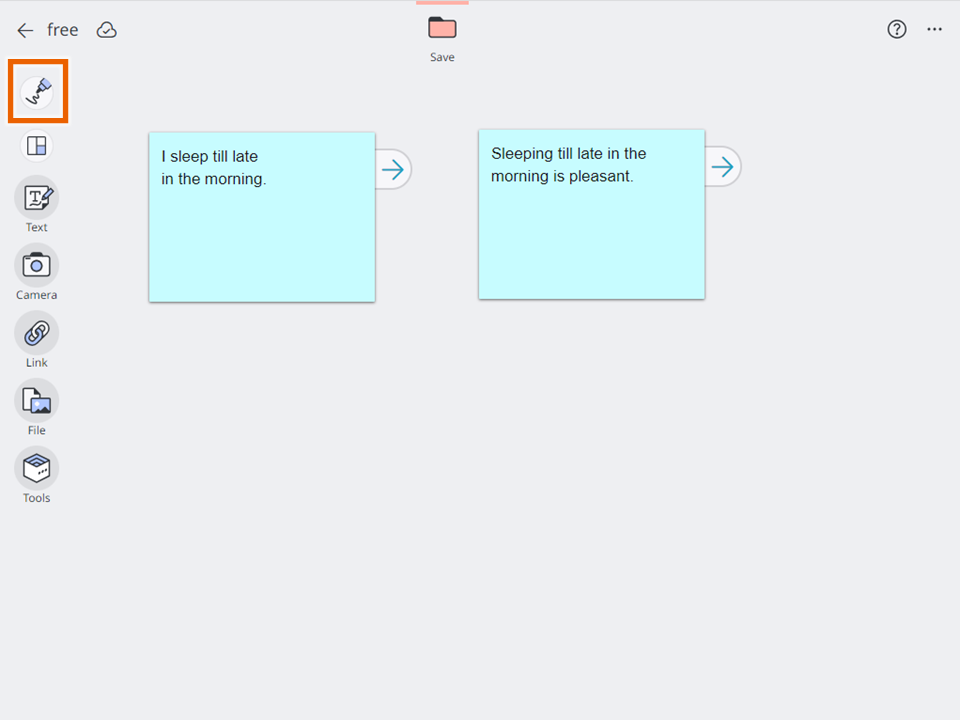
Use this procedure to enter handwritten text in a Notebook.
- Select
 .
.
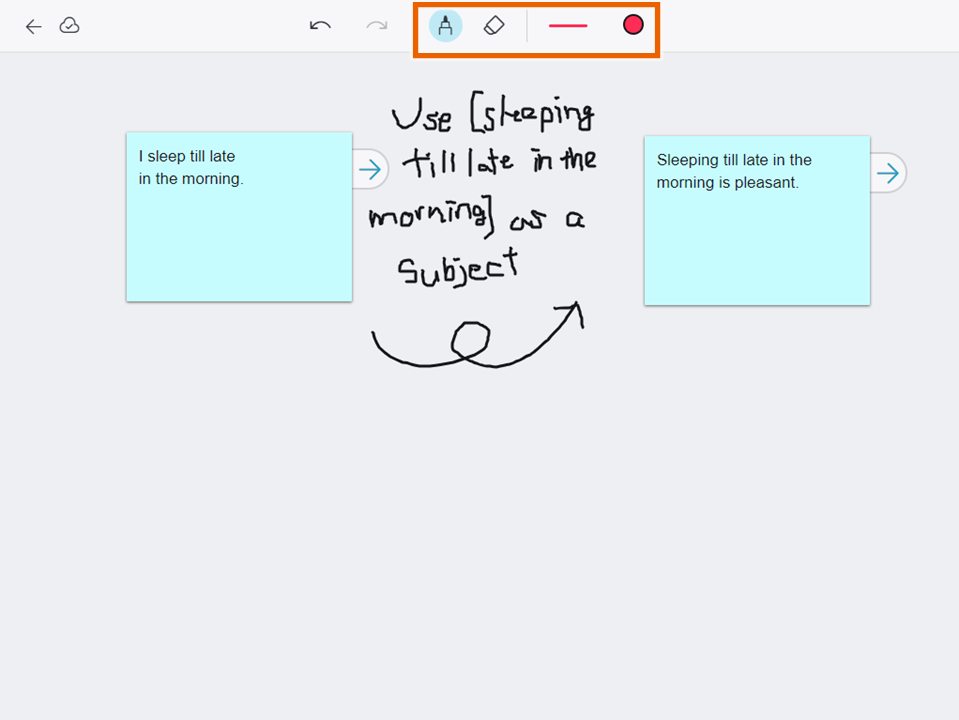
- Specify the pen type, line thickness, and color, and then enter the handwritten text.
- Pen type: Choose from normal pen or straight line.
- Thickness: Choose from 8 settings.
- Color: Open the color palette and select a color.
MEMO
Select [ ] to undo your handwritten input and return to the original status. You can go back 10 steps from your last action. However, you cannot undo changes to the pen type, eraser, thickness, or color settings. You can redo actions you have undone by selecting [
 ].
]. - Select [
 ] or
] or  .
.
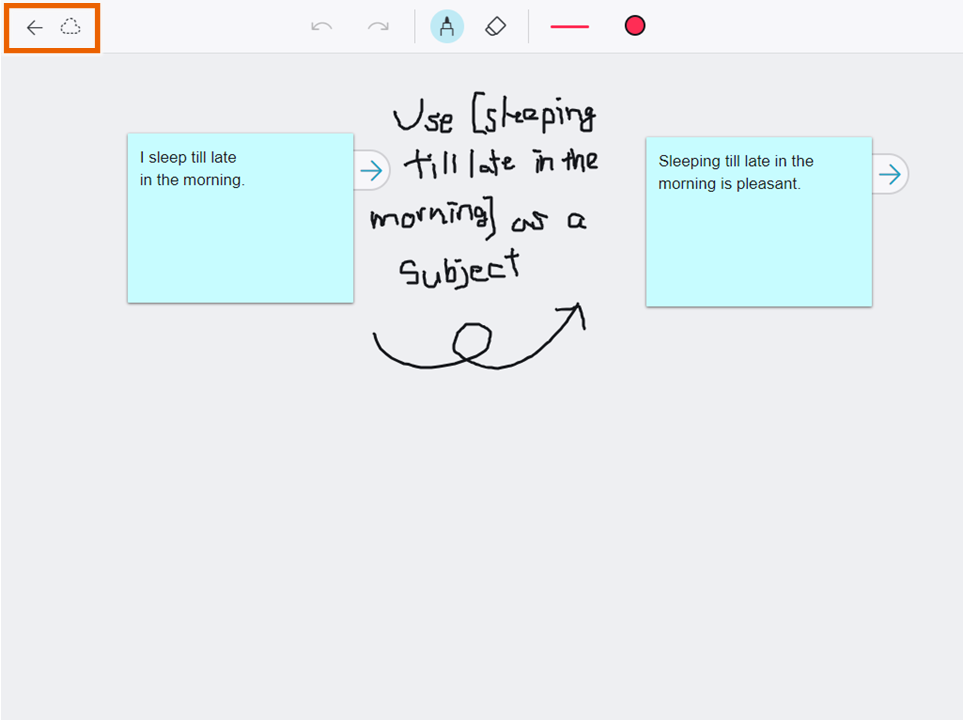
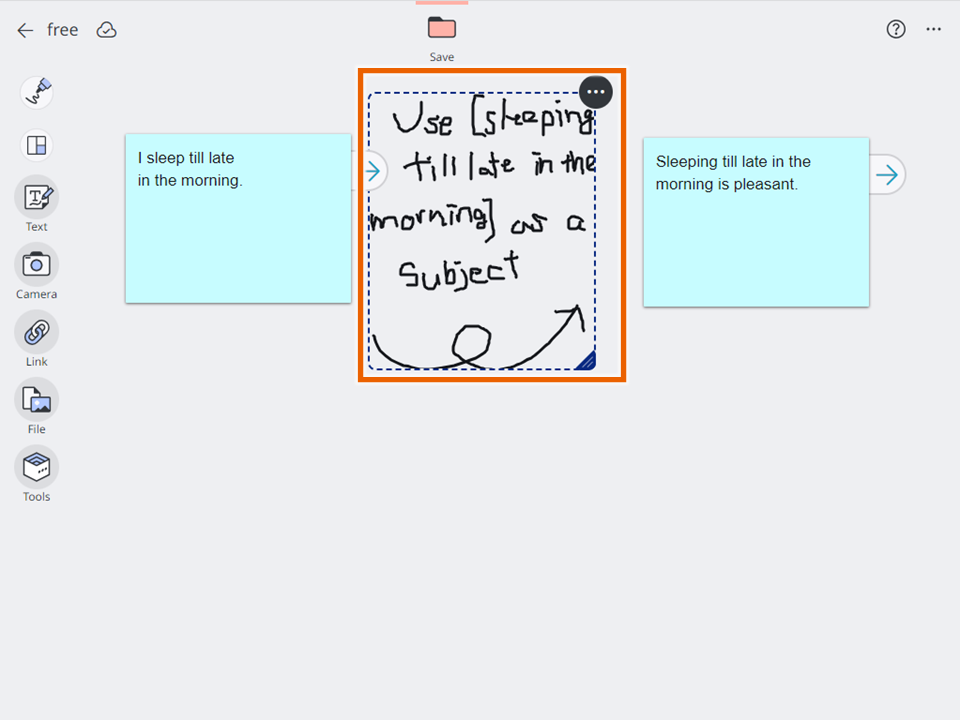
The handwritten text and line(s) are saved as a handwritten object.
MEMO
You can drag the handwritten object to move it around.
Select options for the handwritten object to display the menu, from which you can edit the entered content, and duplicate or delete the handwritten object.
Erasing entered handwritten content
- From the handwritten input menu, select [
 ].
].
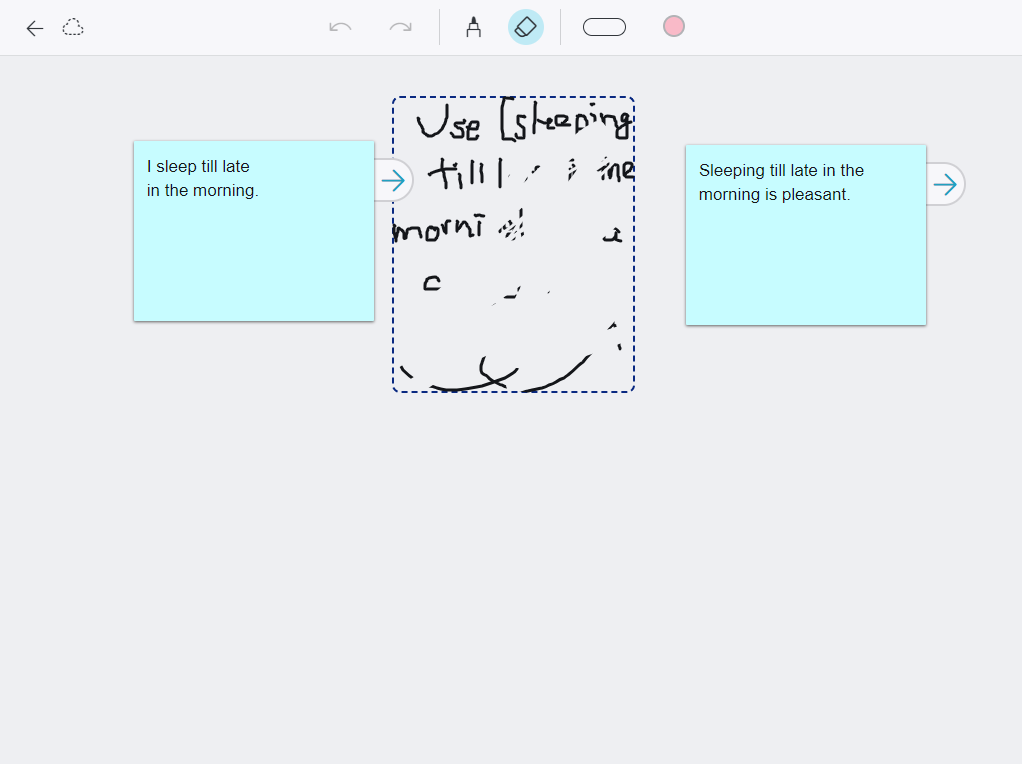
The eraser size is tied to the pen thickness. You can choose from 8 sizes.
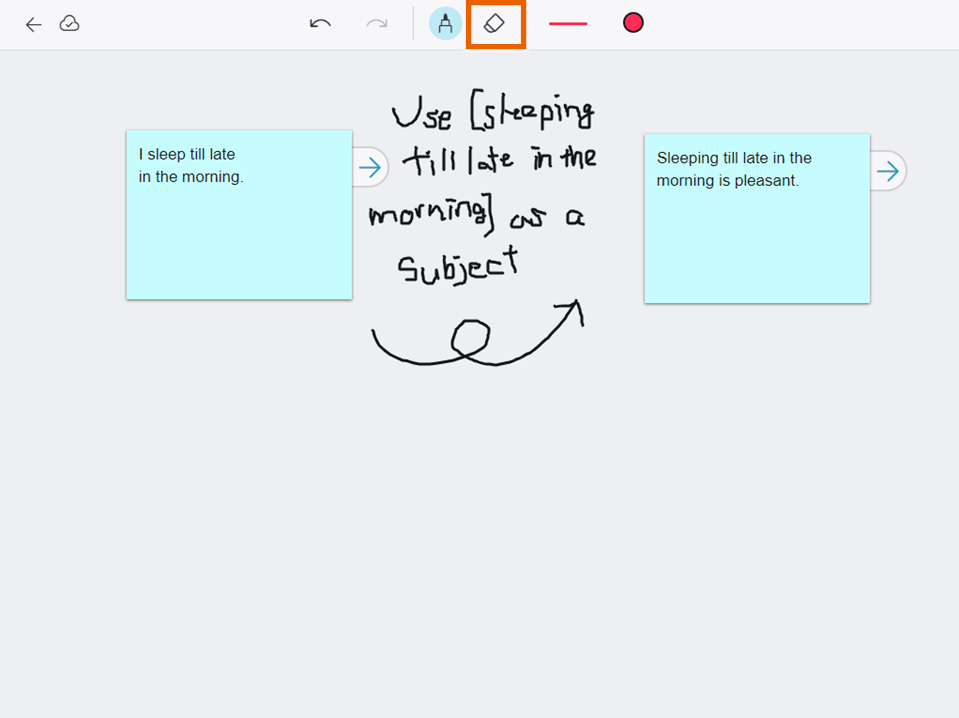
- Drag to erase the entered handwritten content.
- Select [
 ] or
] or  .
.
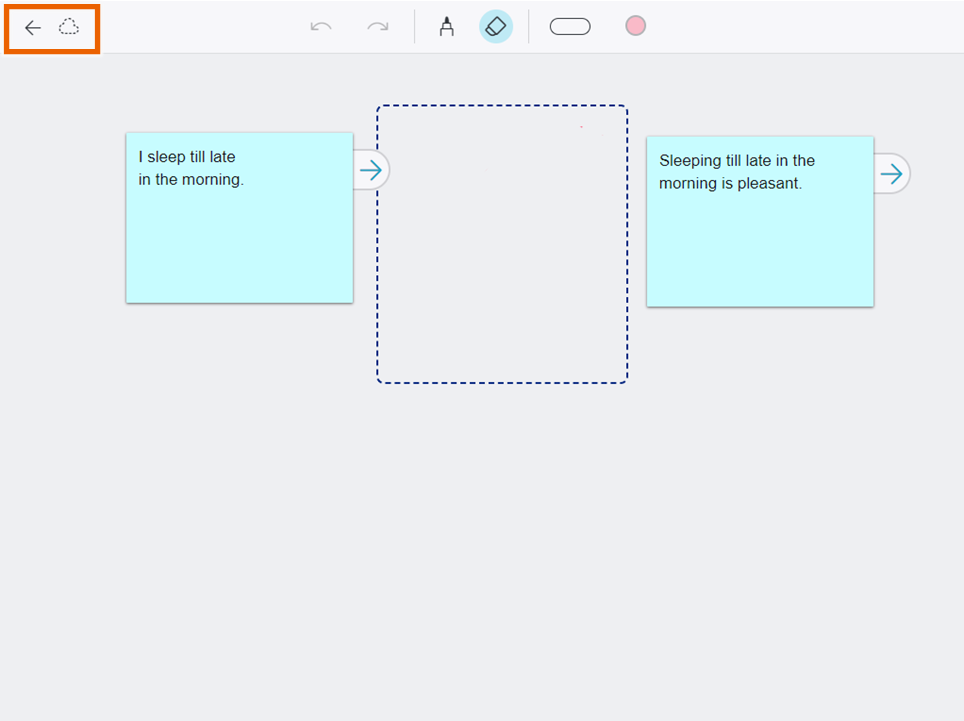
The handwritten text and line(s) are saved as a handwritten object.